


DIY Wall Painting Techniques for Modern Homes: A Complete Step-by-Step Guide
In 2025, property holders are grasping DIY divider portray procedures for present day homes to include identity, imagination, and freshness to their living spaces without enlisting experts. Whether you need to revive a single divider or grant your whole domestic a makeover, learning do-it-yourself divider portray is cost-effective and satisfying.
Why Select DIY Divider Portray Methods for Present day Homes?
The developing slant of DIY divider portray procedures for cutting edge homes stems from the crave for personalization and budget-friendly makeovers. Instep of conventional strong dividers, individuals presently try with designs, surfaces, and geometric shapes to make articulation pieces.
Benefits:
- Cost reserve funds vs. enlisting proficient painters
- Creative opportunity to customize your space
- Satisfaction and skill-building through hands-on experience
Step-by-Step: DIY Divider Portray Strategies for Advanced Homes
Let’s plunge into the prepare with this step-by-step direct to acing DIY divider portray procedures for present day homes.
Step 1: Accumulate the Right Supplies
Before beginning, guarantee you have all the fundamental tools:
Materials Needed:
- Paint (latex or water-based)
- Primer
- Painter’s tape
- Drop cloths
- Paint rollers and brushes
- Sponges or rags
- Level or ruler
- Paint tray
- Sandpaper
Choose high-quality paints for superior scope and durability—especially if you're making designs or utilizing present day portray styles like ombré or geometric shapes.
Step 2: Prep the Divider Surface
Proper divider arrangement guarantees that your DIY divider portray strategies for present day homes final longer and see professional.
How to Prep:
- Clean the dividers: Utilize a clammy cloth to expel clean and grease.
- Fill breaks or gaps with divider putty.
- Sand the surface for a smooth finish.
- Apply preliminary to make a base for indeed color application.
This step is vital, particularly for more seasoned dividers or those already painted in dim shades.
Read More:- Creative DIY Craft Ideas for Kids Using Recycled Materials
Step 3: Select Your Present day Portray Style
Modern homes flourish on inventiveness and moderation. Select from these prevalent divider paint ideas:
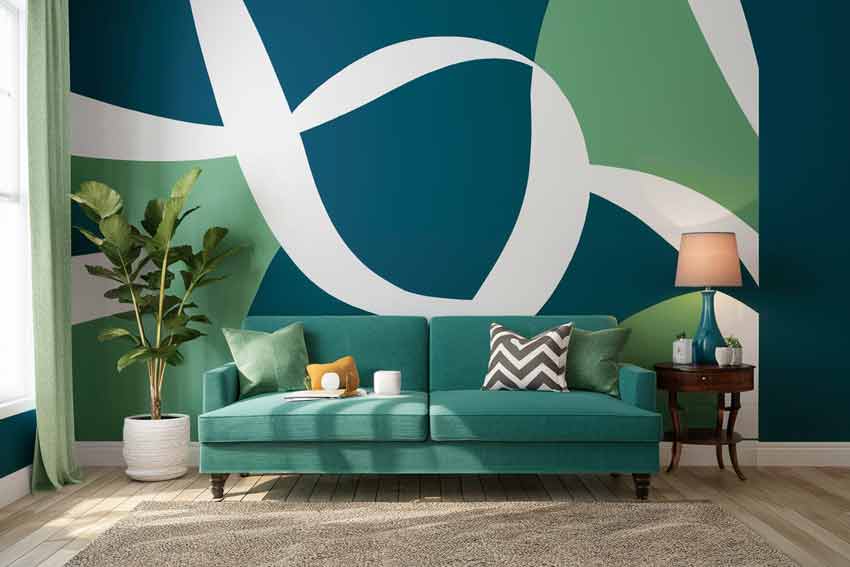
1. Color Blocking
Use painter’s tape to make huge color squares or geometric shapes. This fashion works incredible in living rooms and entryways.
2. Stencil Divider Art
Buy or make reusable stencils to include designs like florals, mandalas, or theoretical shapes.
4. Ombre Effect
Blend two or more shades from light to dim vertically or on a level plane to make a angle effect.
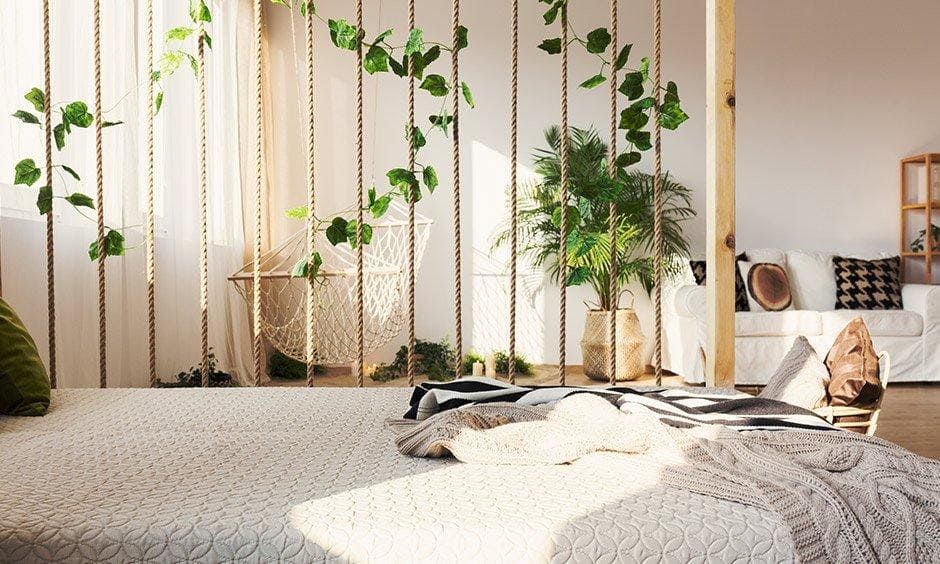
4. Finished Divider with Wipe or Cloth Rolling
Add surface utilizing a wipe or cloth. Perfect for complement dividers in rooms or feasting areas.
Using any of these DIY divider portray methods for advanced homes includes moment energy and innovation to your space.
Step 4: Check and Tape Your Design
Use a pencil, ruler, and level to delicately check your plan or designs on the divider. At that point apply painter’s tape along those lines.
Tips:
- Press tape solidly to avoid paint bleeding.
- Use a level to guarantee straight lines.
- For bends, attempt adaptable painter’s tape.
Marking and taping accurately guarantees that your DIY divider portray plan shows up clean and professional.
Step 5: Apply the Base Coat
Start by applying a unbiased or light-colored base coat, particularly if you’re layering with strong colors or perplexing designs.
Base Coat Instructions:
- Use a roller for huge zones and a brush for corners.
- Let the base coat dry for at slightest 4-6 hours.
- Apply a moment coat if required for full coverage.
This makes a strong establishment for your do-it-yourself divider portray patterns.
Step 6: Paint Your Plan or Texture
Applying your do-it-yourself divider depict approach is the exciting part.
For Color Blocking:
- Paint inside taped zones utilizing a smaller than expected roller or brush.
- Wait for the to begin with segment to dry some time recently taping another area.
For Stencils:
- Secure stencil with painter’s tape.
- Dab paint delicately utilizing a wipe or stencil brush.
- Avoid over-burdening the brush to avoid bleeding.
For Ombre:
- Blend shades utilizing a clammy wipe or roller.
- Work rapidly some time recently the paint dries.
These methods bring your present day domestic dividers to life with style and originality.
Step 7: Expel the Tape Carefully
Once the paint is totally dry, delicately peel off the painter’s tape at a 45-degree angle.
Pro Tip:
- Use a utility cut to score the tape edge if the paint peels.
- Touch up with a little brush if needed.
Clean lines are key to making your DIY divider portray procedures for present day homes see high-end.
Step 8: Last Touches and Cleanup

After evacuating the tape:
- Check for any paint trickles or smudges.
- Use a little brush for touch-ups.
- Clean all apparatuses with cleanser and water for future use.
Place furniture and décor back once dividers are totally dry (ordinarily inside 24 hours).
Extra Tips for Best Results
- Use differentiating colors to make strong statements.
- Stick to a 3-color palette for a present day, moderate look.
- Incorporate highlight lighting to highlight painted walls.
- Try portray as it were one highlight divider if you’re uncertain almost doing the entire room.
Conclusion
Mastering DIY divider portray methods for cutting edge homes enables you to change your space with imagination and reasonableness. Whether you go for striking color blocking, imaginative stenciling, or finished wraps up, these procedures let you express individual fashion without contracting professionals.
With the right apparatuses, arranging, and this direct, you can accomplish staggering divider plans that bring your present day domestic to life. Begin your DIY divider portray extend nowadays and turn clear dividers into works of craftsmanship!
Faq’s:-
Q: What are the best DIY divider portray procedures for cutting edge homes?
Some of the best DIY divider portray strategies for cutting edge homes incorporate color blocking, stencil craftsmanship, ombre angles, and finished wipe portray. These styles include a advanced and imaginative touch to your add without proficient help.
Q: Do I require uncommon apparatuses for DIY divider portray at home?
No, most devices are effortlessly accessible at equipment stores. You’ll require painter’s tape, rollers, paint brushes, preliminary, and alternatively stencils or wipes depending on your plan. The key is cautious arrangement and clean application.
Q: Can fledglings attempt DIY divider portray procedures for present day homes?
Absolutely! Numerous do-it-yourself divider portray strategies are beginner-friendly. Begin with color blocking or stenciling—they're straightforward, reasonable, and perfect for first-time painters looking to modernize their space.
Q: How do I avoid paint from dying beneath painter's tape?
To anticipate paint dying, press the tape solidly and seal edges by portray a lean layer of base coat to begin with. Expel the tape whereas the paint is marginally moist or utilize a edge to score along the edges some time recently pulling it off.
Q: What kind of paint is best for advanced divider portray designs?
Use latex or water-based paint for simple cleanup and fast drying. Matte or glossy silk wraps up are perfect for present day divider portray styles, advertising a clean, modern see with smooth scope.

